
Trusted by Global Brands to Deliver Reliable, High-Quality Software – 24/7
More than a software testing provider, Testinium is your strategic partner in the digital ecosystem, offering innovative quality assurance solutions that optimize your development lifecycle, accelerate time to market, reduce costs, and ensure success in an AI-driven world.
Book a Discovery Call
Customized QA Partnerships for Exceptional Software Outcomes
Testinium is globally recognized as a leader in quality assurance based on the tailor-made approach it takes to optimising software development outcomes for its clients, encompassing services, consultancy, and market-leading products.
Consultancy
Innovative QA Consulting for Future-Ready Software.


Services
750+ QA Experts.
Products
Testinium, Oobeya, Loadium, Cunda.
Trusted by Global Industry Leaders
We understand what clients need most from a quality assurance partner, as all parts of those organizations increasingly rely on digital technology to power the various components of their businesses, both operational and customer-facing.
Why not free up your teams by partnering with Testinium for your quality assurance needs? We provide comprehensive, expert-managed QA services that enhance efficiency across the entire software development lifecycle.
Why not free up your teams by partnering with Testinium for your quality assurance needs? We provide comprehensive, expert-managed QA services that enhance efficiency across the entire software development lifecycle.


Why Testinium?
With thousands of projects and multi-industry expertise, Testinium gives organizations the confidence to succeed in today’s digital-first world through tailored quality assurance solutions.
3,000+
Projects
6
Global Offices
750+
Experts
13
Years of Excellence
450+
Happy Clients
Comprehensive Quality Assurance Services
Testinium’s services help clients enhance the performance of their technologies. We'll assist in improving cost efficiency, quality, and customer satisfaction.


Services
Strategic QA Consultancy
Testinium provides market-leading consultancy as part of its quality assurance services.
We help clients optimize their testing, business, and validation processes to achieve maximum efficiency and performance.
We help clients optimize their testing, business, and validation processes to achieve maximum efficiency and performance.
Learn More


Services
Managed Testing Services
Testinium takes complete ownership of your test lifecycle, from team setup and training to execution and reporting.
Our services include test case creation, functional and automated testing, regression testing, load testing, and test data management—driving speed, accuracy, and quality across the board.
Our services include test case creation, functional and automated testing, regression testing, load testing, and test data management—driving speed, accuracy, and quality across the board.
Learn More


Services
Specialized Testing Expertise
Ensure successful technology outcomes by partnering with Testinium for comprehensive, targeted testing across every development stage.
Learn More


Services
FlexiTest
FlexiTest gives you expert QA exactly when you need it, with flexible, scheduled slots that adapt to your business's changing demands. Optimize both quality and costs by booking top-tier QA resources on your terms.
Our Clients
Driving Excellence Across 450+ Organizations

Products
Our software solutions seamlessly integrate with your development process to enhance QA and testing, setting new standards for efficiency, scalability, and quality across the software lifecycle.

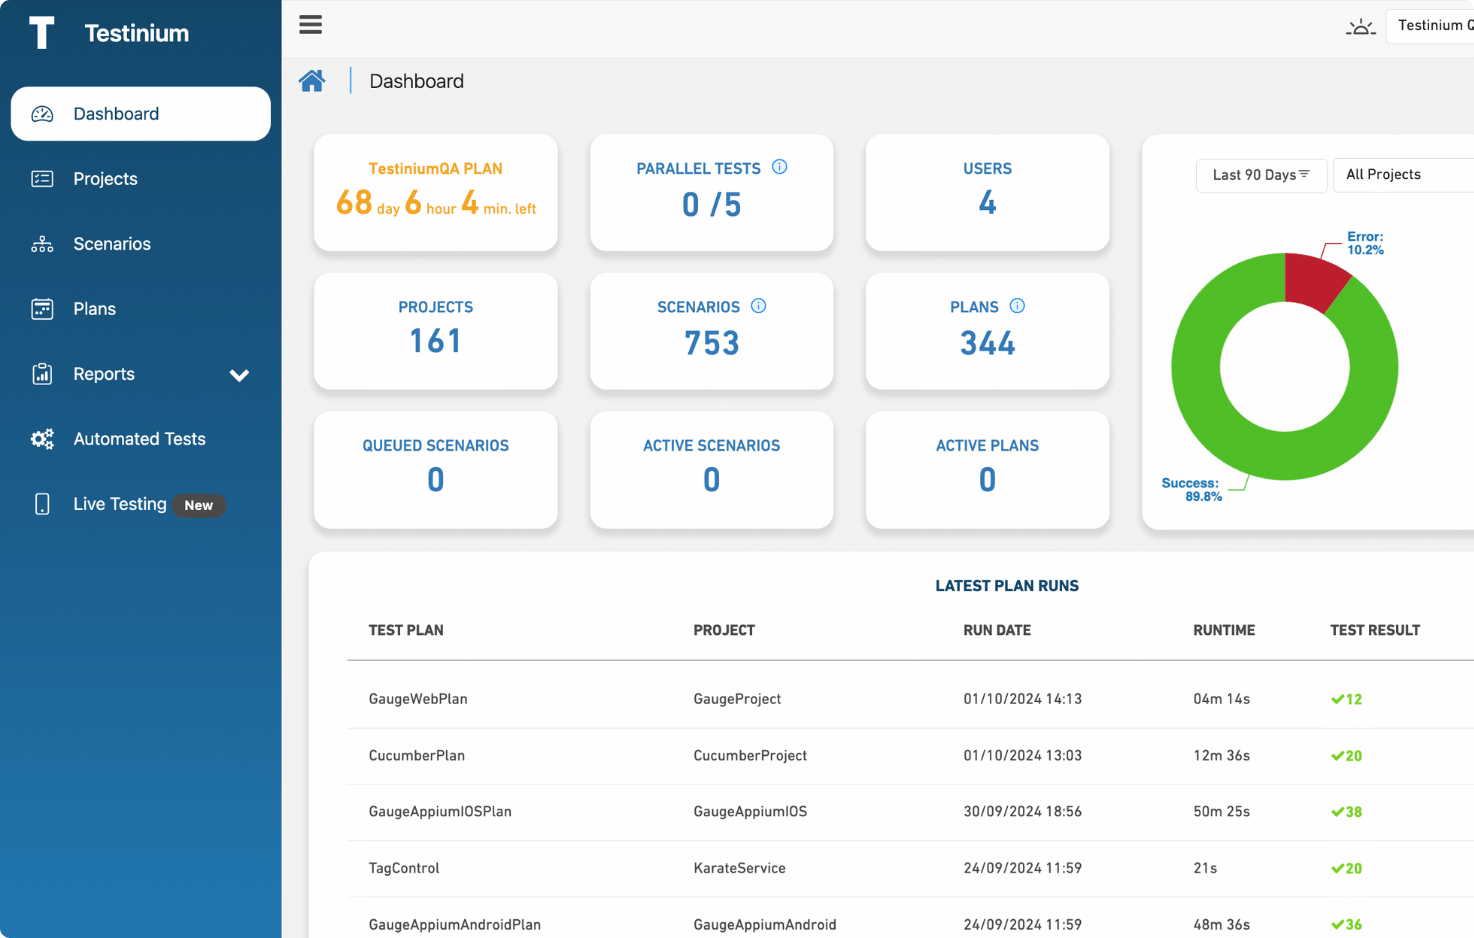
Testinium
Functional Test Automation
Testinium automates the execution of tests that check the functionality of your application.
By simulating real user interactions and validating outcomes, our solution delivers faster feedback, reduces human error, and saves substantial time throughout development cycles.
See It in Action
Industries
Testinium delivers specialized QA services and software solutions tailored to key industries worldwide. With deep domain expertise, we ensure exceptional results for every client.
Audiences
Whether you are part of a product team striving to perfect your next release, a lead developer focused on efficient and bug-free code, or a finance professional aiming to optimize development costs and reduce business risk, our tailored software testing and quality assurance solutions have something to offer.


Product Teams
We align our software testing and quality assurance with your product goals, ensuring a confident launch.
Our approach streamlines development, ensuring each release exceeds stakeholder expectations, enhances user satisfaction, and boosts competitive edge.
Our approach streamlines development, ensuring each release exceeds stakeholder expectations, enhances user satisfaction, and boosts competitive edge.


Development Teams
We provide tailored testing solutions that seamlessly integrate into your development cycles, boosting efficiency and reducing error rates.
Our support allows your team to focus on features rather than troubleshooting, facilitating faster releases and higher-quality outputs.
Our support allows your team to focus on features rather than troubleshooting, facilitating faster releases and higher-quality outputs.


Finance Teams
We help finance teams control development costs and minimize financial risks in software building, testing, and deployment.
By preventing costly post-launch issues and optimizing resource allocation, our services ensure financial prudence and maximize ROI for your technology projects.
By preventing costly post-launch issues and optimizing resource allocation, our services ensure financial prudence and maximize ROI for your technology projects.
Copyright © 2025 Testinium. All Rights Reserved

